NOTE: Use the Fittings Calculator to determine total amount of hardware required for your fittings.
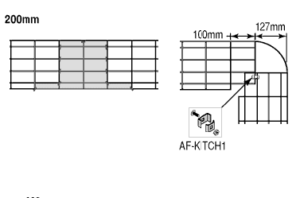
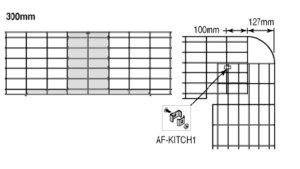
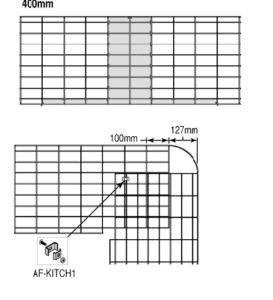
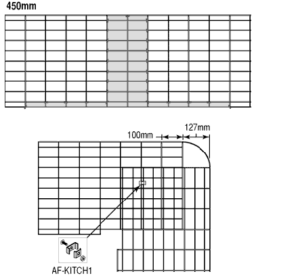
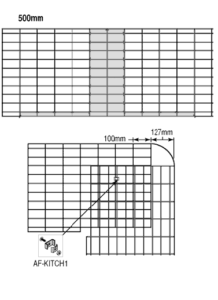
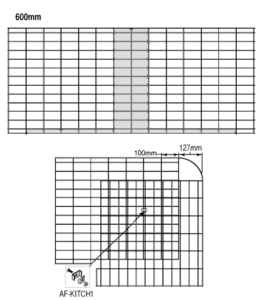
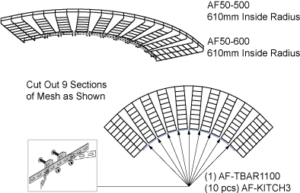
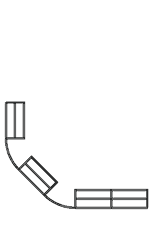
To form 90° bends in the tray, cut the wires shown in the color shaded area of the drawing which corresponds to the width of the tray used.
Standard use is:
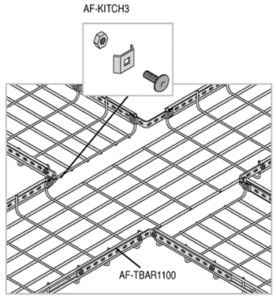
NOTE: Always place nut on outside of tray
Advantages:
NOTE: Always place nut on outside of tray

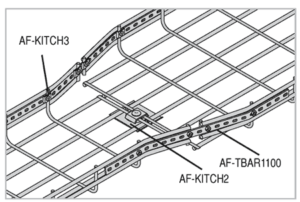
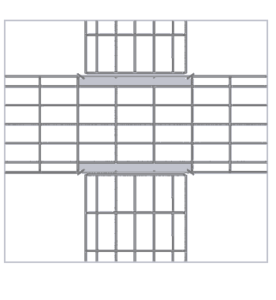
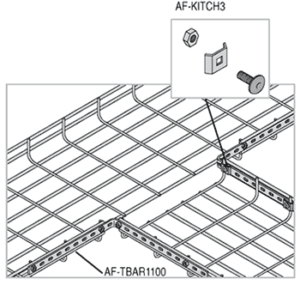
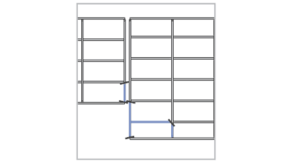
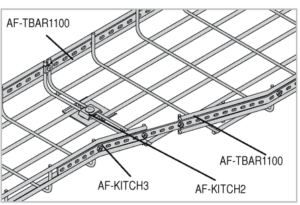
Standard use per cross is:
NOTE: Always place nut on outside of tray
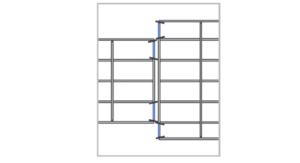
To form a cross, cut the wires marked in blue.
Standard use per cross is:
NOTE: Always place nut on outside of tray
To form a cross, cut the wires marked in blue.
Standard use per cross is:
NOTE: Always place nut on outside of tray
To form a cross, cut the wires marked in blue.

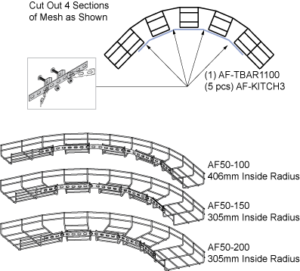
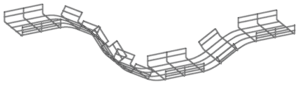
Cut out 4 side sections of mesh for a soft 90° bend.
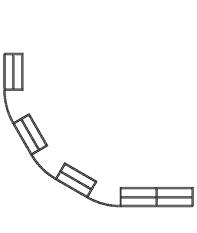
Cut out 4 side sections of mesh for a 90° bend.
Cut out 4 side sections of mesh for a 90° bend.

Cut out 4 side sections of mesh for a hard 90° bend.
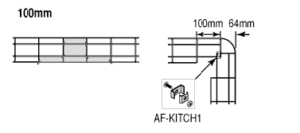
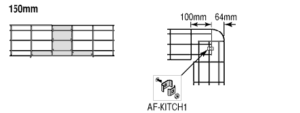
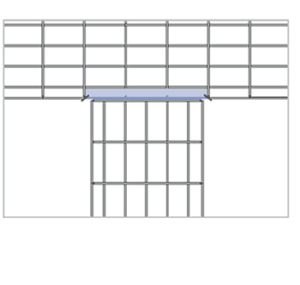
Standard use per reducer is:
NOTE: Always place nut on outside of tray
To form a reducer, cut the wires marked in blue.